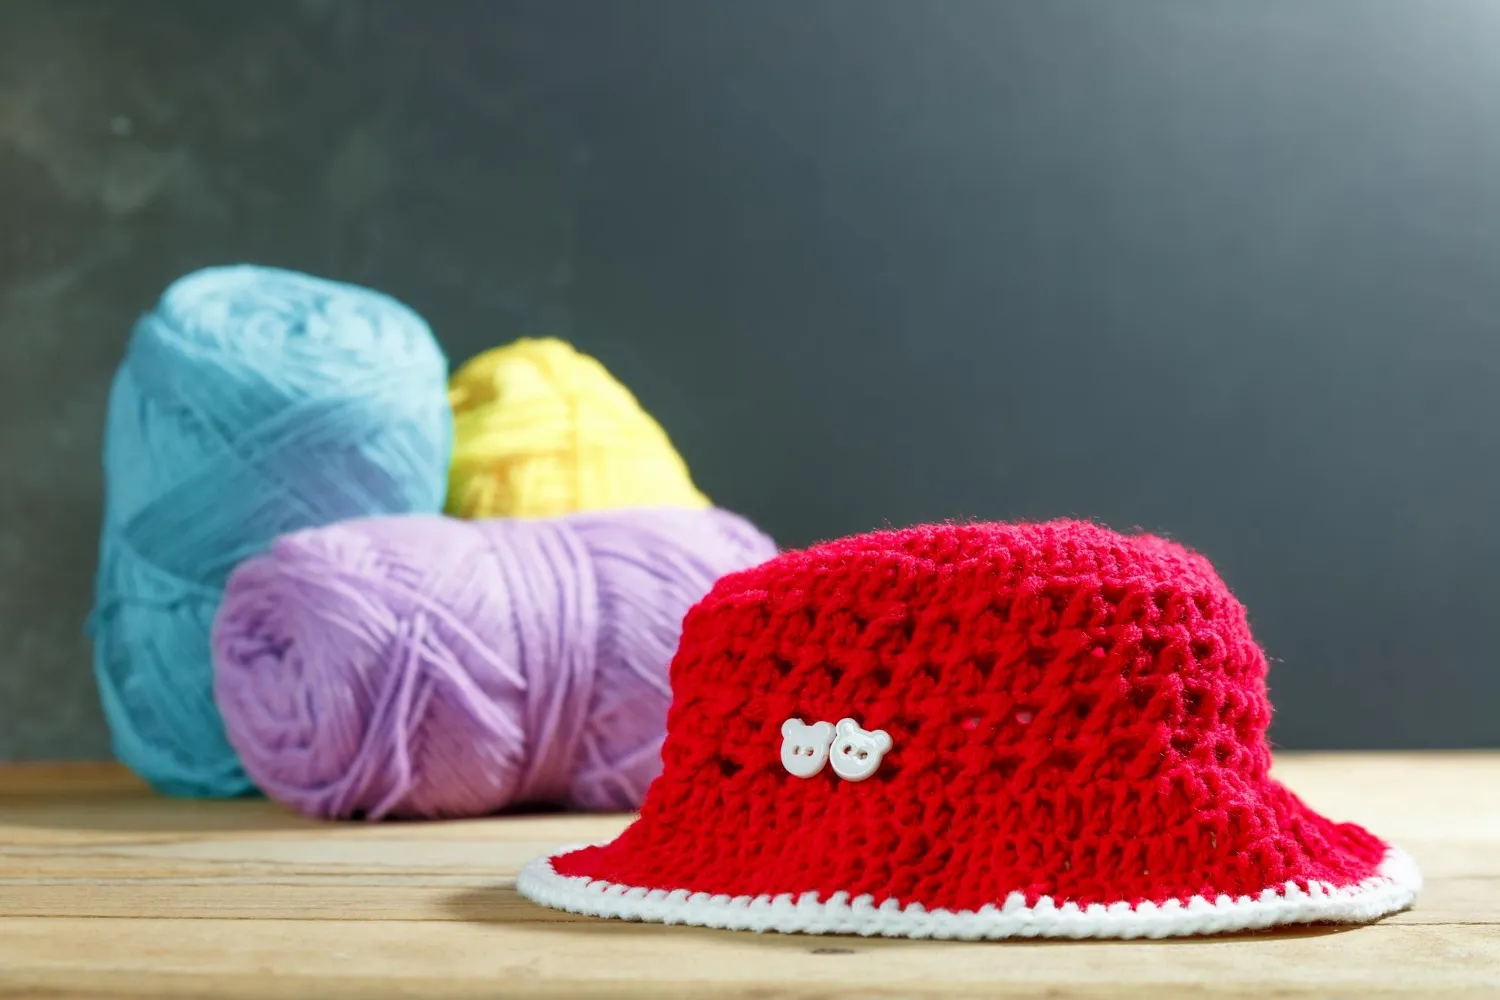
How to Crochet a Hat for Beginners
Crocheting hats is a wonderful skill to learn. You get to choose exactly what color and design you want. For this beginner's guide to how to crochet a hat, we’ve stuck with the hat we know and love – The Beanie. While there are many different types of beanie hats, we’re looking at a simple skull beanie.
As you improve your crocheting talents, you can add cuffs, make slouch beanies, or even add embellishments. Let’s start with the basics of how to crochet a hat you’ll love.

Table of contents
-
How to Crochet a Beanie Hat: What You’ll Need
-
How to Crochet a Hat Step One: The Magic Ring
-
How to Crochet a Hat, Step Two: Stitch Out From the Magic Ring
-
How to Crochet a Hat, Step Three: 2dc dc2
-
How to Crochet a Hat, Step Four: Build the Hat’s Body
-
How to Crochet a Hat, Step Five: Finishing Off
-
Custom Beanie Hats the Simple Way
How to Crochet a Beanie Hat: What You’ll Need
You will need yarn and a 6mm or “J” crochet hook to complete your hat. You also need a yarn needle for fastening off.
Choose yarn in a color and feel that you’ll be happy to have on your head for hours at a time. So, nothing too itchy, too thick, or too light if you want the hat for cold weather.
Approximately 200 yards of yarn should be sufficient, but if you choose a particularly chunky yarn, you may need more.

How to Crochet a Hat Step One: The Magic Ring
Follow this technique to start your hat:
- Place the end of the yarn across one hand.
- Use the other hand to wrap the working yarn (yarn attached to the ball) around two fingers.
- Bring that piece of yarn across the original strand in an X shape.
- Push the crochet hook under the top right arm of the X and hook over the top left arm of the X. Pull that yarn back through the loop.
- Make a single stitch and pull it through to secure the loop.
- You now have a circle of yarn secured by a crochet stitch. Pull on the yarn’s end to make the loop smaller.
- Make 12 double crochet stitches around this circle of single-strand yarn:
- Wrap the yarn over the crochet hook.
- Insert the hook into the circle of yarn.
- Wrap the yarn around the hook again.
- Pull the hook back through the circle.
- Wrap the yarn a third time and pull the hook carefully through two of the loops you’ve just made.
- Repeat this step and voila, that’s a double crochet stitch.
- Repeat the whole process 12 times.
- Once the circle of 12 stitches is complete, push the hook back through the loops of the first double crochet stitch you made.
- Wrap the yarn over the hook and pull it back through the double stitch loops, then pull the loop you just made back under the yarn already on the hook.
- This creates a slip stitch. Pull the free end of the yarn and the hole in the middle of the circle of stitches will close tightly, just like magic. That’s why it’s called the magic ring.
This magic ring forms the center of the hat.

How to Crochet a Hat, Step Two: Stitch Out From the Magic Ring
While learning how to crochet a hat you’ve now mastered the double crochet stitch. Use double crochet stitches around the edge of the magic ring. Follow a pattern of two double crochet stitches attached to one of the 12 current stitches followed by just one stitch attached to the next one, then two attached to the next, and so forth.
You now have an additional ring of 18 stitches. Finish with a slip stitch.
How to Crochet a Hat, Step Three: 2dc dc2
If you use crochet patterns, you’ll likely see designations such as “2dc” and “dc2.” The first, 2dc, means two double crochet stitches in the same stitch. The second, Dc2, means two consecutive double crochet stitches, each in a single stitch.
Follow that pattern for the next step of the beanie:
- Hook through the first stitch you did in the last step.
- Make two double crochet stitches.
- Move on to the next stitch. Make one double crochet stitch.
- Move to the next stitch and do another double crochet stitch.
- Repeat.
At the end of this stage, you have a circle of 24 stitches. The project will start to look like a hat. Finish this stage with a slip stitch.

How to Crochet a Hat, Step Four: Build the Hat’s Body
Continue making new chains of crochet in the following patterns:
- 2dc, dc3 (two double crochet stitches in one stitch followed by three consecutive double crochet stitches, 30 stitches total)
- 2dc, dc4 (36 stitches)
- 2dc, dc5 (42 stitches)
- 2dc, dc6 (48 stitches)
Remember to finish each chain with a slip stitch.
Check the size of the hat by pushing it against your head. Do a new chain of double crochet stitches, one per stitch. Repeat this process until you’re happy with the size of the beanie.
How to Crochet a Hat, Step Five: Finishing Off
To finish the beanie, simply do a single chain of single crochet (sc) stitches all the way around. This creates an attractive border and highlights the edge of the hat.

You can also add a row of slip stitches here for a more attractive, eye-catching finish. Fasten off your project. Trim the yarn, leaving an eight-inch trail. Use a yarn needle to weave the excess yarn back along the edging.
Custom Beanie Hats the Simple Way
Learning how to crochet a hat is a real feather in your cap… or beanie. However, not everyone has the time to indulge in lengthy craft projects. For a faster solution, visit Custom Beanies Now and discover beanies in all colors, materials, and styles. Contact us 24/7 via the website or call us at 1-877-201-9803.